NestJS WebSocket 开始使用
更新日期 2022-6-1
- 2022-6-1 更新格式
- 2022-5-6 更新格式
- 2022-5-5 更新格式
- 2021-7-22 创建文档
使用NestJs提供WebSocket服务。
本文会在新建项目的基础上增加2个类
- Gateway 实现业务逻辑的地方
- WebSocketAdapter WebSocket适配器
新建项目
新建一个项目来演示,用npm来管理项目。
得到一个有基础功能的工程。
进入项目目录,安装2个库
npm i --save @nestjs/websockets @nestjs/platform-socket.io
启动
使用端口3001
npm run start启动我们的工程。用postman测一下,功能ok。
gateway介绍
Nest里的gateway(网关)只是一个用 @WebSocketGateway() 装饰器注释的类。从技术上讲,网关与平台无关,在创建适配器后它们与任何 WebSockets 库都兼容。
新建Gateway
新建ws.gateway.ts文件。在装饰器@WebSocketGateway()里端口指定为3002。
| import { ConnectedSocket, MessageBody, SubscribeMessage, WebSocketGateway } from "@nestjs/websockets";
import * as WebSocket from 'ws';
@WebSocketGateway(3002)
export class WsStartGateway {
@SubscribeMessage('hello')
hello(@MessageBody() data: any): any {
return {
"event": "hello",
"data": data,
"msg": 'rustfisher.com'
};
}
}
|
hello方法,订阅的消息是'hello'。
把它放进AppModule的providers里。
providers: [WsStartGateway],
如果websockt和http用了同一个接口(本例是3001),启动时会报错
Error: listen EADDRINUSE: address already in use :::3001
获取WebSocket对象
在WsStartGateway里新增加一个消息订阅方法。
方法里接受@ConnectedSocket() client: WebSocket,这个client就是与客户端的连接对象。
我们可以用它来给客户端发送消息。
| @SubscribeMessage('hello2')
hello2(@MessageBody() data: any, @ConnectedSocket() client: WebSocket): any {
console.log('收到消息 client:', client);
client.send(JSON.stringify({ event: 'tmp', data: '这里是个临时信息' }));
return { event: 'hello2', data: data };
}
|
自定义WebSocketAdapter
前面我们建立好了Gateway,还需要一个适配器。
新建文件ws.adapter.ts,继承WebSocketAdapter
| import * as WebSocket from 'ws';
import { WebSocketAdapter, INestApplicationContext } from '@nestjs/common';
import { MessageMappingProperties } from '@nestjs/websockets';
import { Observable, fromEvent, EMPTY } from 'rxjs';
import { mergeMap, filter } from 'rxjs/operators';
export class WsAdapter implements WebSocketAdapter {
constructor(private app: INestApplicationContext) { }
create(port: number, options: any = {}): any {
console.log('ws create')
return new WebSocket.Server({ port, ...options });
}
bindClientConnect(server, callback: Function) {
console.log('ws bindClientConnect, server:\n', server);
server.on('connection', callback);
}
bindMessageHandlers(
client: WebSocket,
handlers: MessageMappingProperties[],
process: (data: any) => Observable<any>,
) {
console.log('[waAdapter]有新的连接进来')
fromEvent(client, 'message')
.pipe(
mergeMap(data => this.bindMessageHandler(client, data, handlers, process)),
filter(result => result),
)
.subscribe(response => client.send(JSON.stringify(response)));
}
bindMessageHandler(
client: WebSocket,
buffer,
handlers: MessageMappingProperties[],
process: (data: any) => Observable<any>,
): Observable<any> {
let message = null;
try {
message = JSON.parse(buffer.data);
} catch (error) {
console.log('ws解析json出错', error);
return EMPTY;
}
const messageHandler = handlers.find(
handler => handler.message === message.event,
);
if (!messageHandler) {
return EMPTY;
}
return process(messageHandler.callback(message.data));
}
close(server) {
console.log('ws server close');
server.close();
}
}
|
bindMessageHandler方法中,会将传来的json消息解析,然后发送到对应的处理器中。
这里就是发给gateway进行处理。
判断依据是message.event,就是event字段。
在main.ts里使用这个适配器。
import { NestFactory } from '@nestjs/core';
import { AppModule } from './app.module';
import { WsAdapter } from './ws/ws.adapter';

async function bootstrap() {
  const app = await NestFactory.create(AppModule);
  app.useWebSocketAdapter(new WsAdapter(app)); // 使用我们的适配器
  await app.listen(3001);
}
bootstrap();
npm run start运行项目,准备进一步测试。
用Postman来测试WebSocket
Postman8.8.0提供了beta版的WebSocket测试功能。
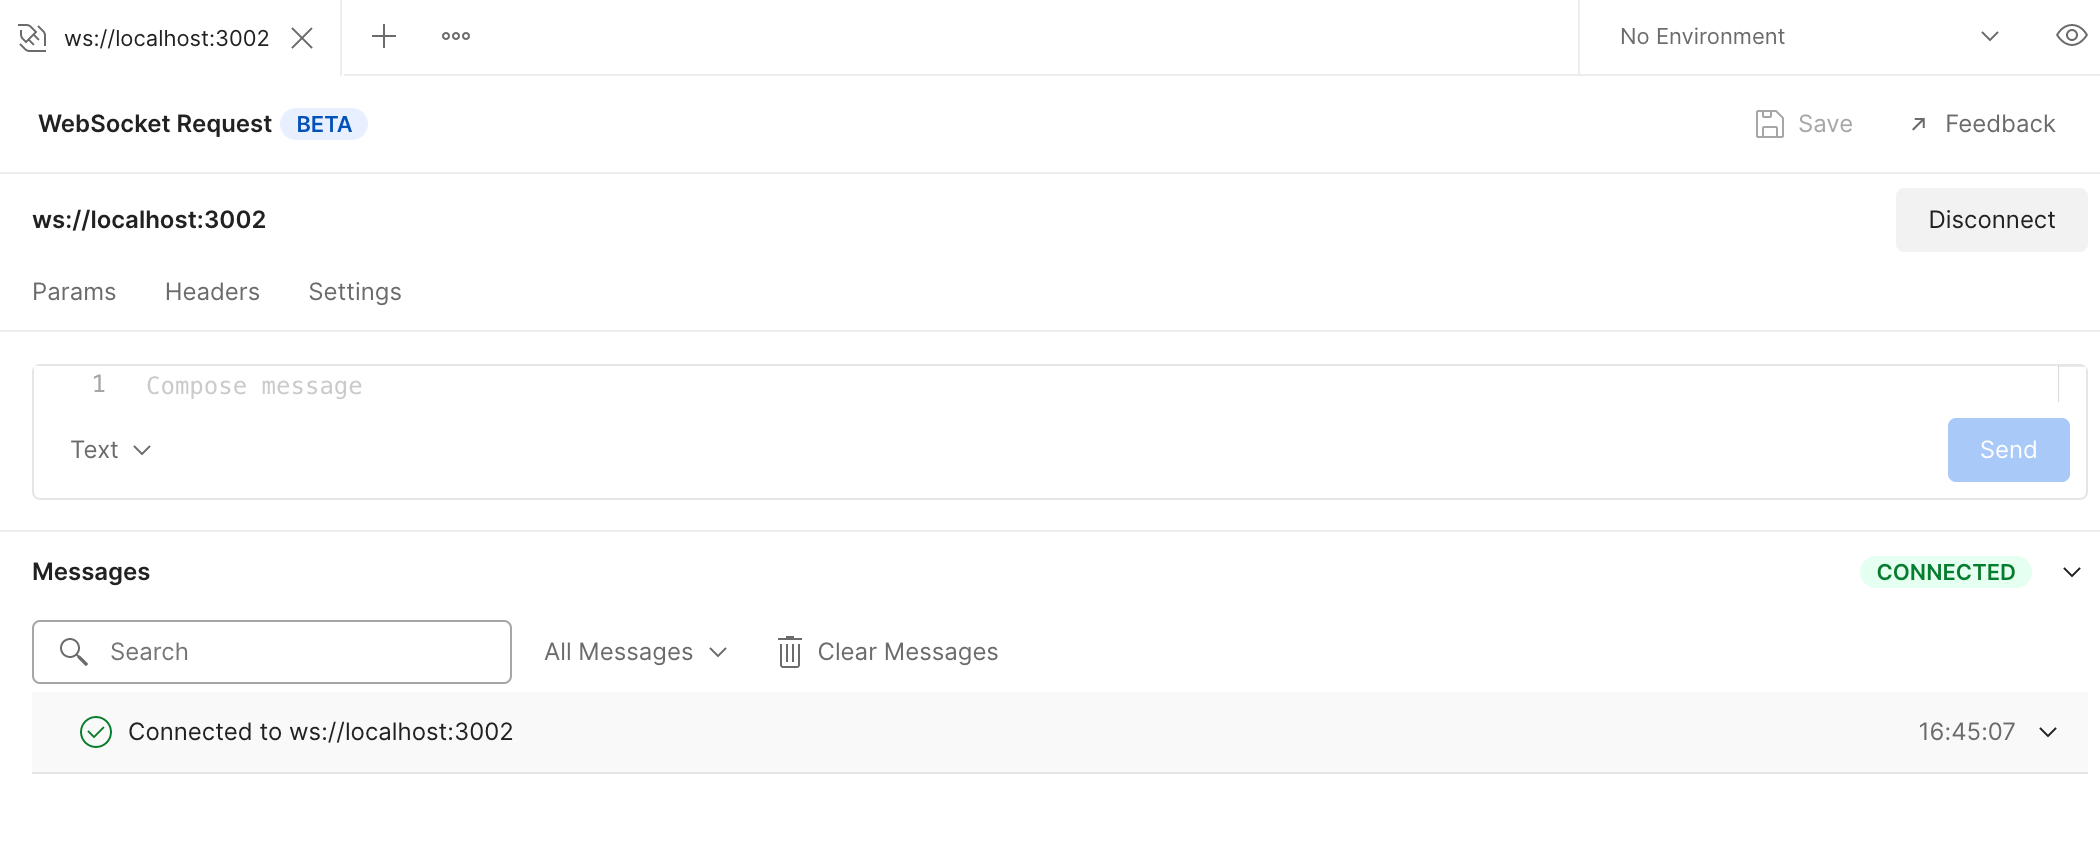
New -> WebSocket Request beta新建一个WebSocket测试。当前版本还不支持保存ws的测试例子。
输入目标url ws://localhost:3002,点击连接 Connect 按钮。
postman测试连接
postman9.17.1
需要选择Raw类型
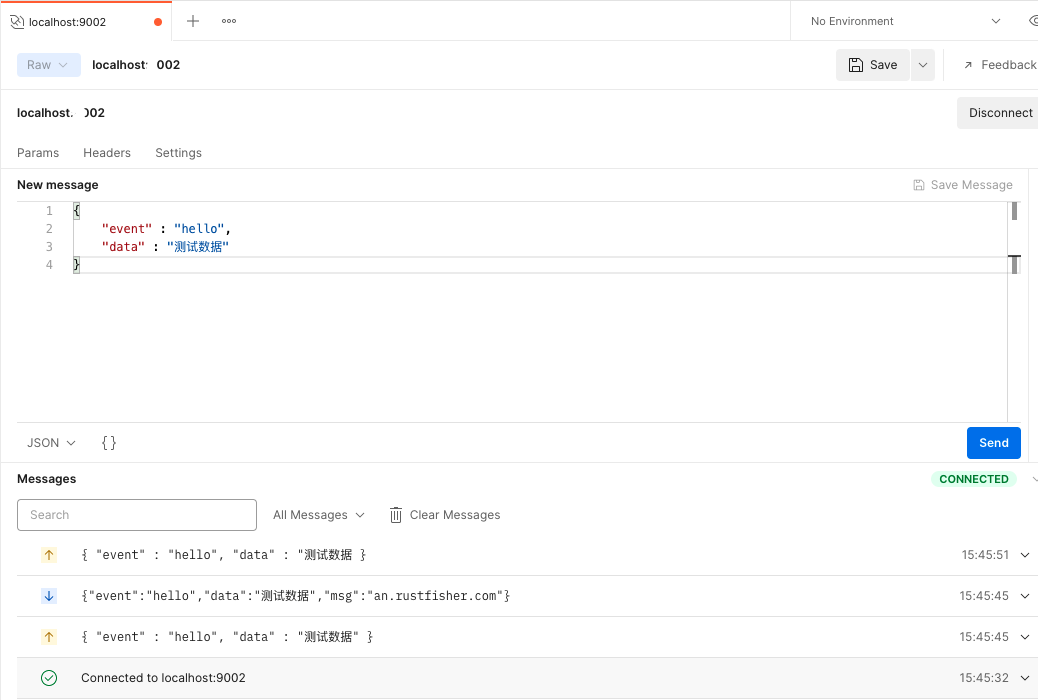
发送测试消息。在消息框里填入以下json数据。
{
    "event" : "hello",
    "data" : "测试数据"
}
postman测试
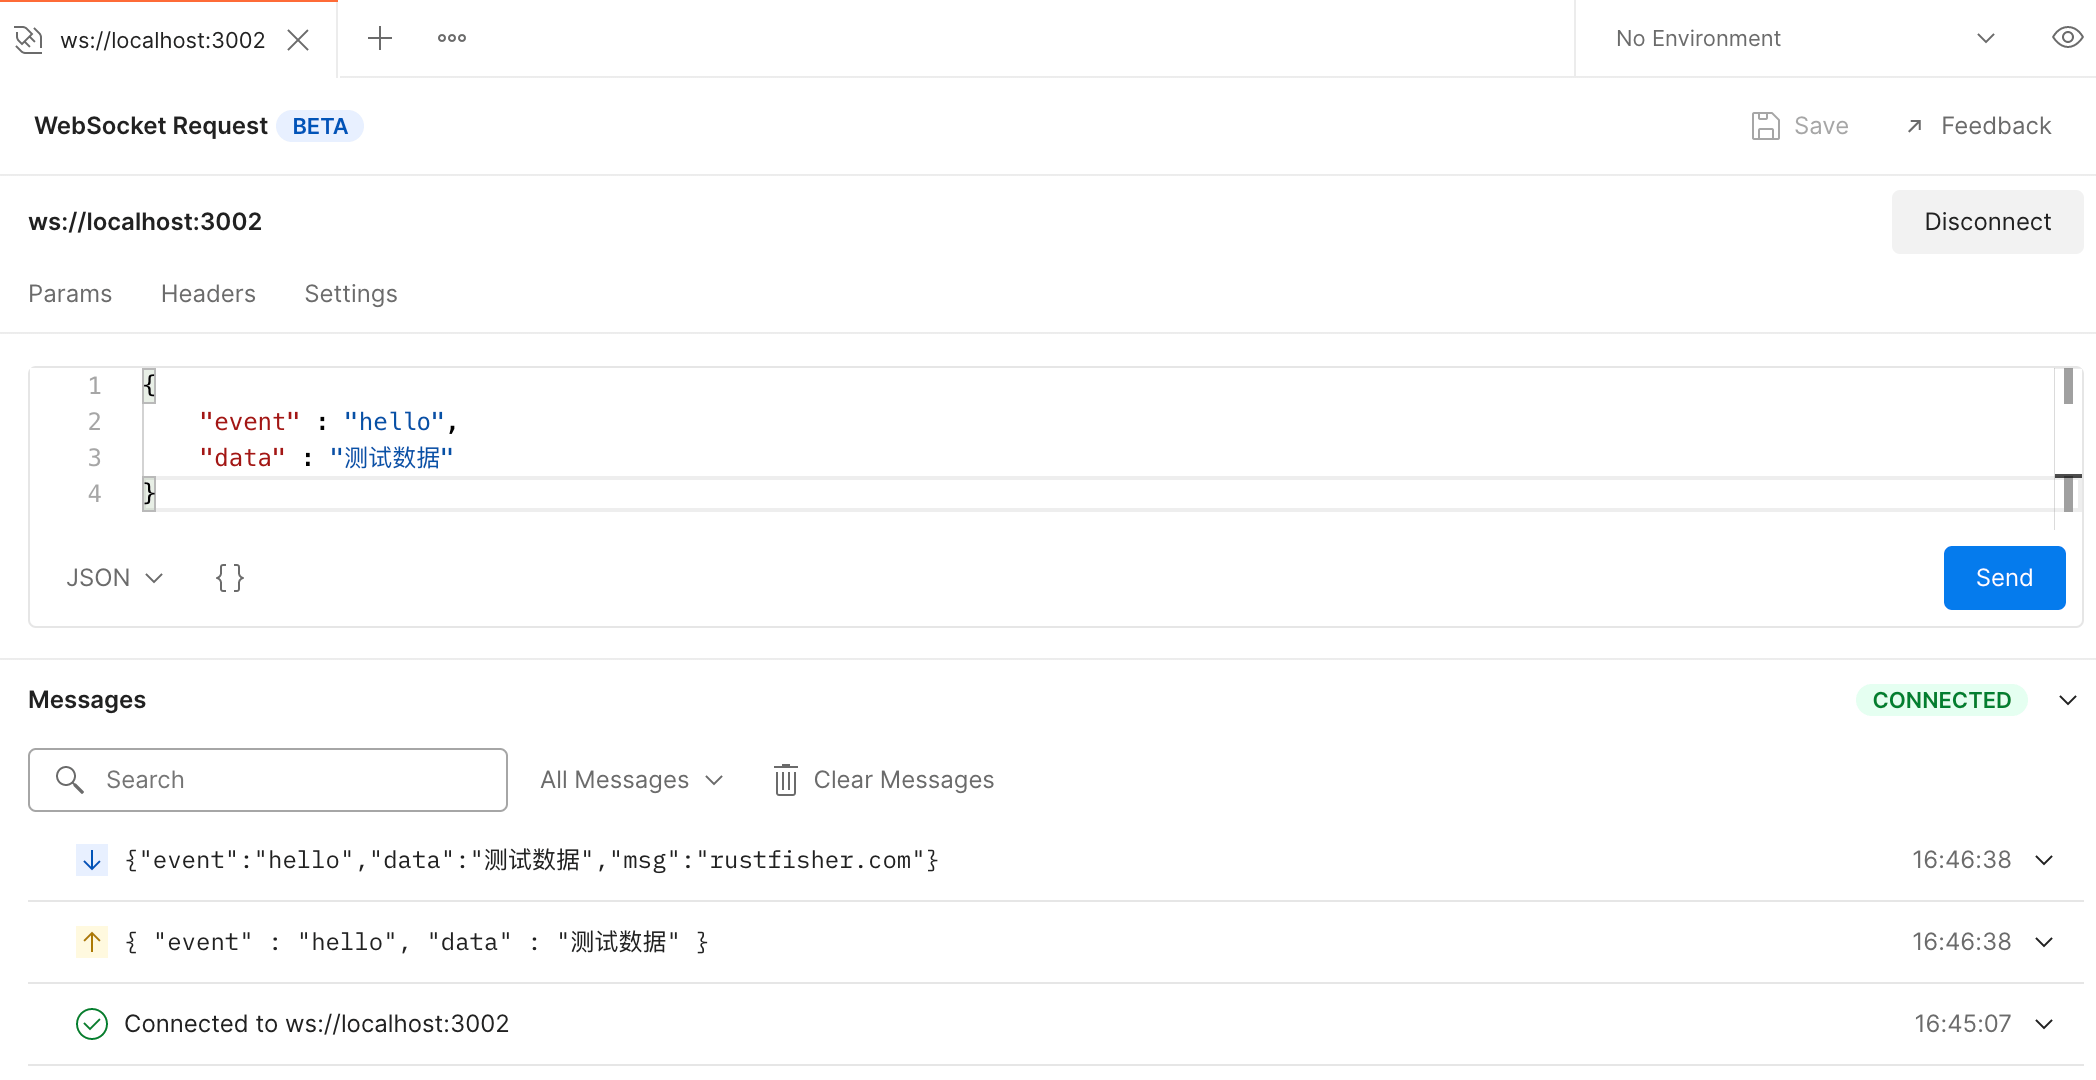
发送的数据经过WsAdapter分发给WsStartGateway,处理后返回数据。
发送hello2测试数据
{
    "event" : "hello2",
    "data" : "测试数据"
}
postman测试
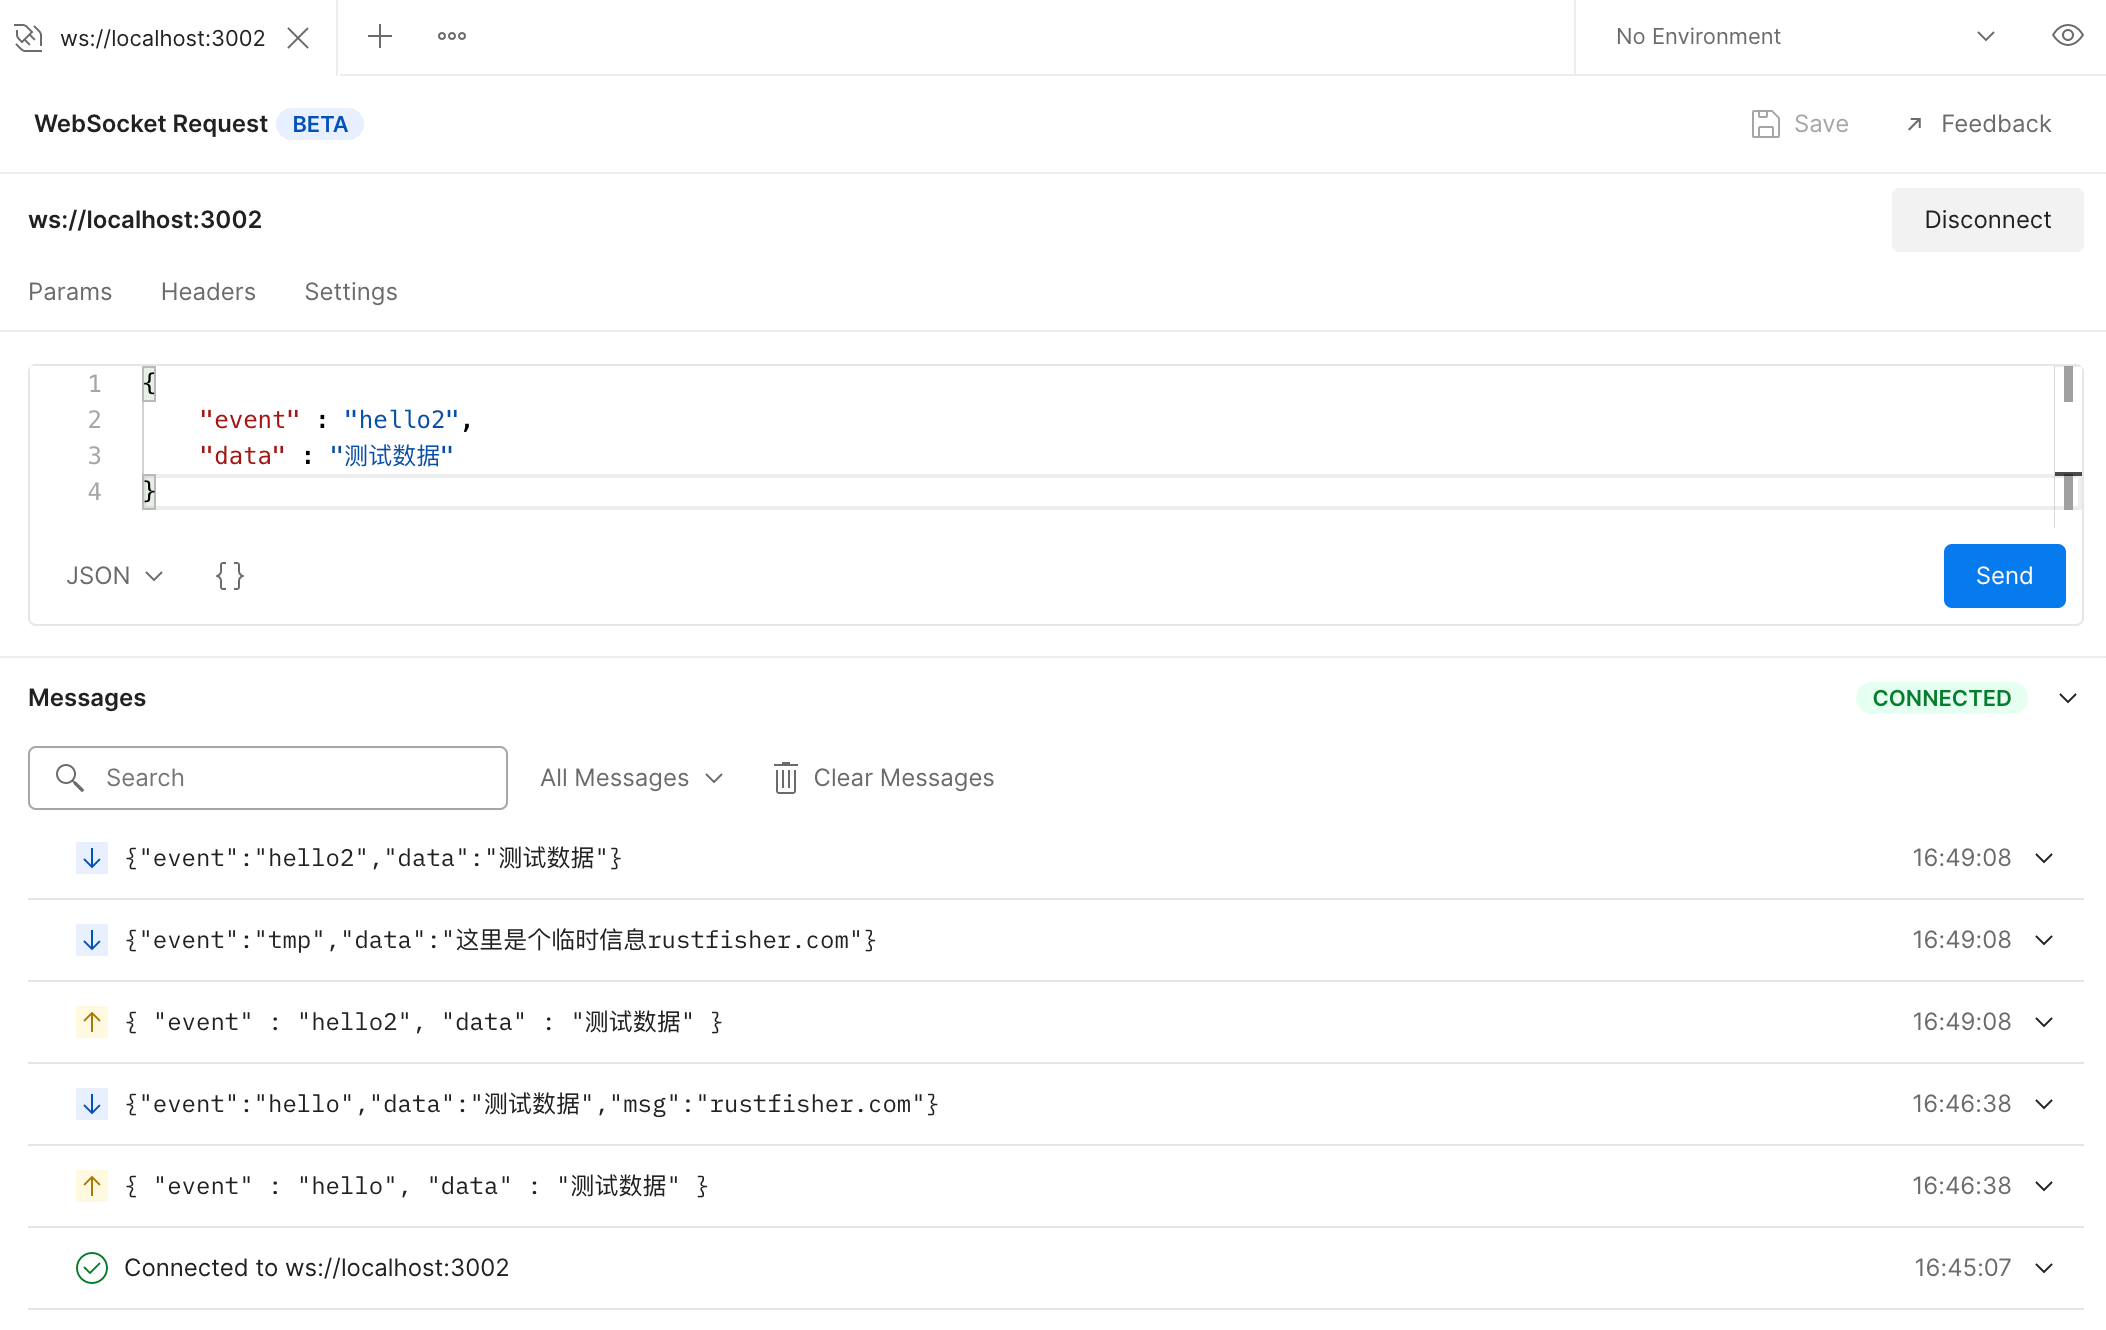
可以看到服务返回了2条数据。
发送一个错误格式的数据
服务端接收到了数据,但是解析失败
ws解析json出错 SyntaxError: Unexpected end of JSON input
小结
要使用WebSocket功能,需要增加
- Gateway 实现业务逻辑的地方
- WebSocketAdapter WebSocket适配器
ws的端口建议是和http的端口分开。
参考
NestJS WebSockets 官方文档
示例工程nest-sample - gitee
本站说明
一起在知识的海洋里呛水吧。广告内容与本站无关。如果喜欢本站内容,欢迎投喂作者,谢谢支持服务器。如有疑问和建议,欢迎在下方评论~
🖥️云雨服务器
🙋反馈问题
🔥最近更新
🍪投喂作者